
working hours
SEC 10:00 - 22:00
SEC 10:00 - 22:00
EN
Master class from food photographer Anna Logacheva at Prospekt shopping mall
Which dessert is more photogenic – an eclair or a muffin, how to make an Easter photo, which kitchen utensils could be used as a photographer's props, which plates are not suitable for shooting, why it is necessary to know the rule of thirds and how to emphasize the coffee taste of the cake in the picture? Anna Logacheva is a person who is madly in love with food photography. She knows how to photograph food in a stylish and tasty way. During her master class at Prospekt shopping mall Anna shared with the visitors the secret of food photographing. Weekend recorded life hacks from Logacheva and asked the participants of the master class about their impressions.
The product you are shooting should always be fresh. Withered lettuce or parsley will never look fresh by means of Photoshop. Therefore, carefully monitor the freshness of products. If necessary - sprinkle them with water, or lubricate weather-beaten parts with oil.
Cleanliness: make sure that there are no fingerprints, accidental splashes or unnecessary drops on the dishes. Almost invisible fibers and dust will be noticeable in the frame, so cleanliness is a prerequisite for a perfect photo.
What to shoot or what products are the most photogenic?
The task of food photography is to wake up an appetite. The first thing our view will capture is the texture of the depicted item. The eye sees biscuit crumbs or melting ice cream. That's all, your mouth is watered! Or not. It depends on your photo. Therefore, the question arises: what to start with?
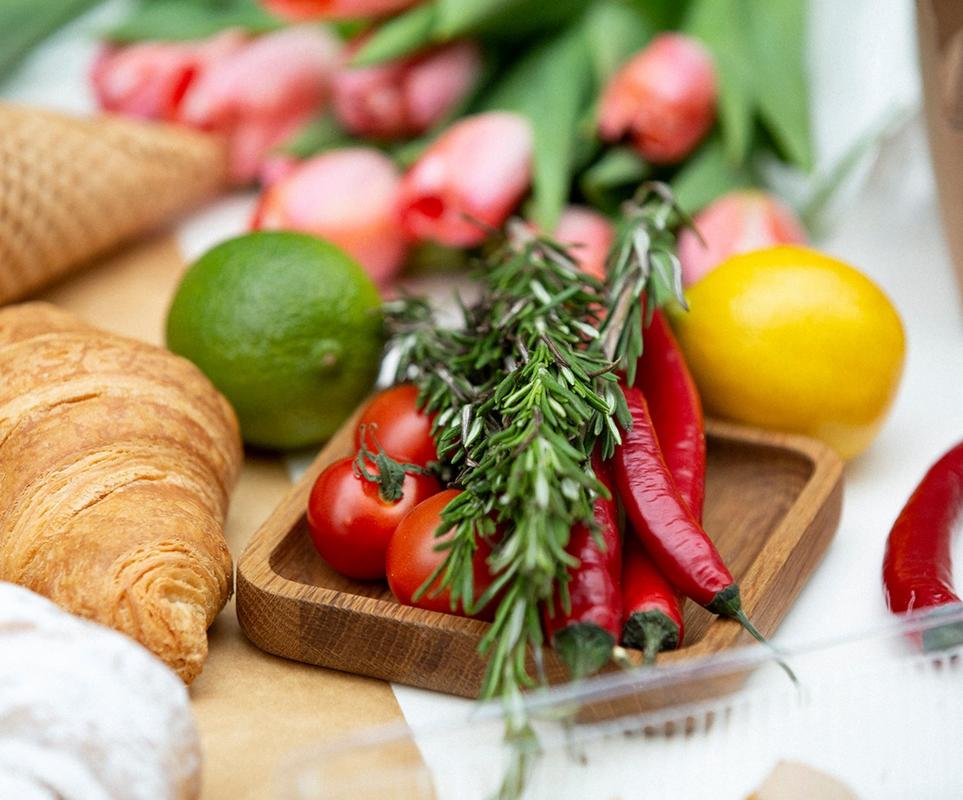
Do not complicate your life. The nature has thought over everything for us, having given us a huge set of vegetables and fruits. They have a bright texture and shape. Spray them out of a sprayer to make them look fresh. Cut along, across, in large and small fractions, make experiments. This will give your composition a variety. You’ll avoid repetitions, each cut will show its’ uniqueness.
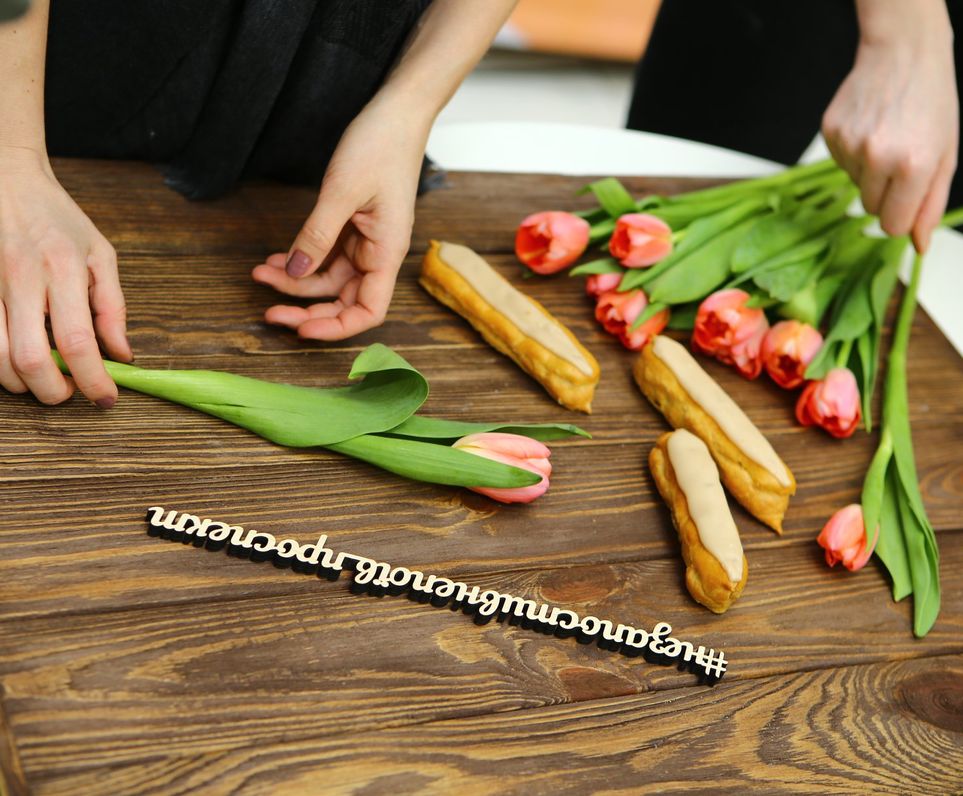
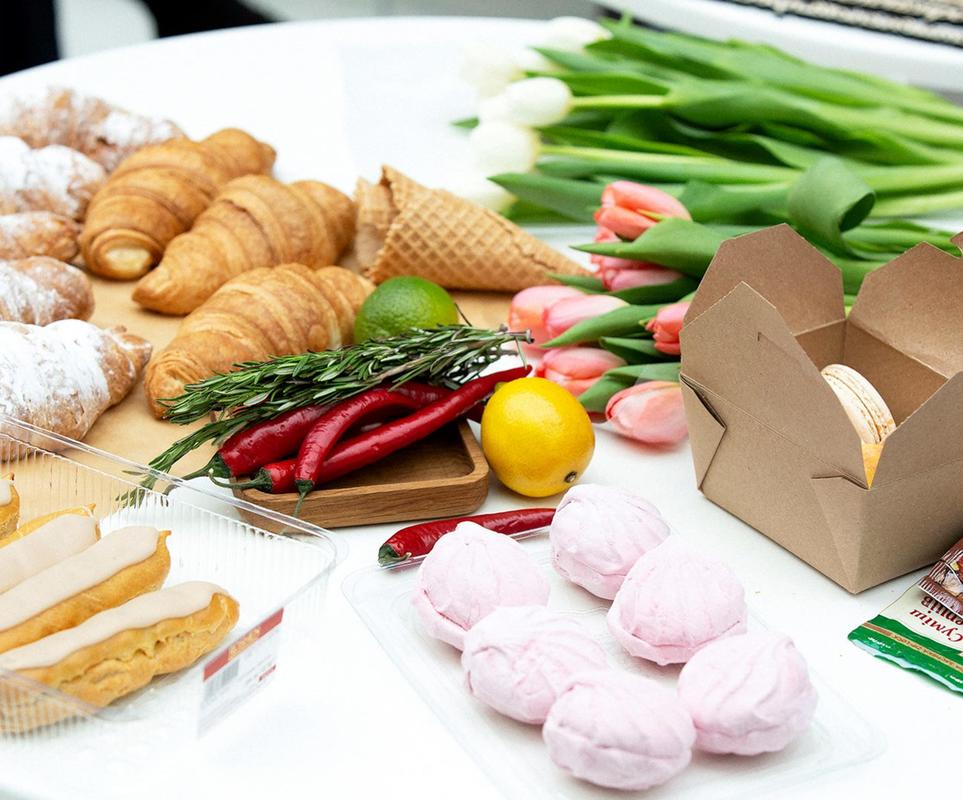
The viewer likes desserts. Desserts are like cats and teddy bears for food photography. Not all desserts are easy to shoot. You should not practice food shooting using some extravagant forms. It is better to start with something simple and casual: croissants, macaroons, eclairs, muffins. Muffins are No.1 in this list. Even if you don’t like baking, you can buy ready-made muffins. Add some twigs, flowers, towing-rope, dishes and textiles. A great composition is ready!
An Easter hint: when photographing pastries, add daffodils, quail eggs, yellow ribbons to the frame.
One more hint: for layouts choose objects of simple geometric shapes. Ideally – round ones.
A frequent mistake of beginners is to photograph desserts of complicated shapes. Such desserts can flow; glaze can glisten and shimmer on them. In general, such photos hardly ever look nice. I advise the beginners to avoid photographing objects that melt, flow or are poured with sauce.
If you are a beginner, I would suggest you the following criteria:
small size, a simple geometric shape. It is especially easy to work with round objects; work with square ones is more difficult.
Texture: we say "yes" to frosted macaroon and avoid glossy cakes.
Even everyday granola is rather difficult to photograph: yogurt may form curds, flakes begin to limp, berries give spots.
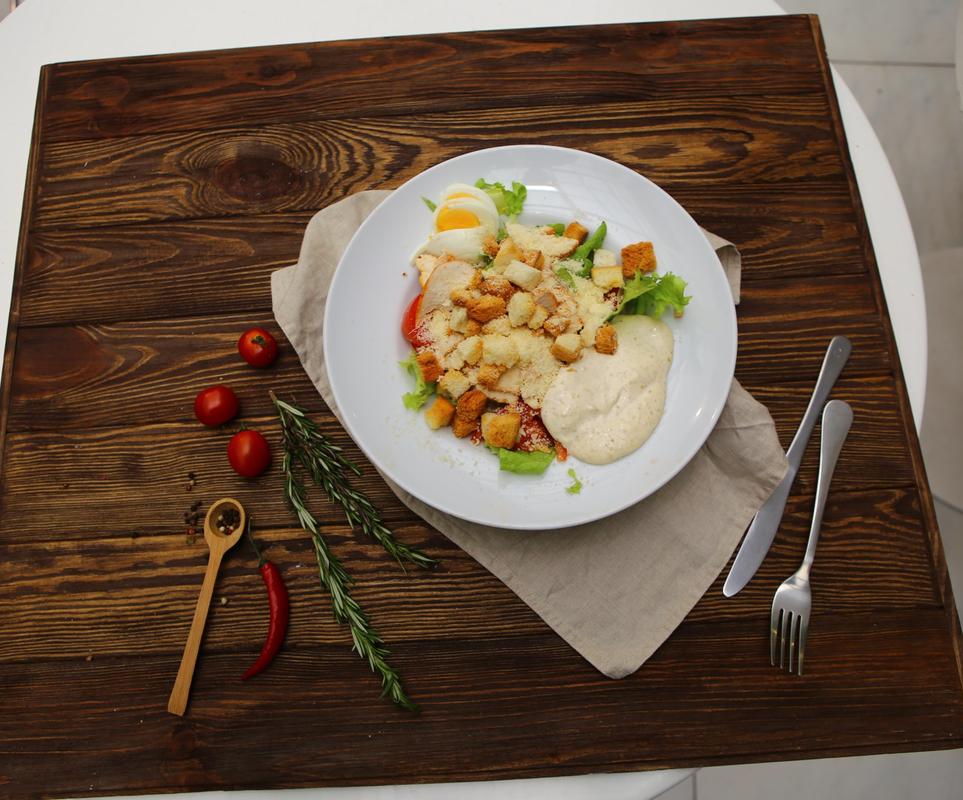
Another worthwhile food object for shooting by beginners is eggs. Everything you need is to boil an egg, to cut up a tomato, to scatter arugula and you’ve done it: you have the sun on your plate and a shape delighting your eye.
On what background and in what objects should be photographed? What are photo phones and how does a perfect plate look like?
Wooden backgrounds, or backgrounds imitating concrete or stone surface are commonly used. Different sizes of backgrounds are used for different tasks. There are a plenty of shades, but, of course, there is a universal one. This is a neutral gray. Believe me, you need just one color: if we want to make a lighter photo - we use light dishes and light textiles, if we want a dark photo - we use dark dishes and dark textiles.
It is more difficult to find a universal color for a wooden background, so the basic colors are light, bleached wood and dark or natural one.
What else could be use as a background?
In your kitchen you can use baking paper, an oven grate, craft paper, kitchen boards and textiles. A nice linen apron will be an excellent background.
In general, it is interesting to use clothes in the frame: a person can be a background for food photography. For example, I hold a coffee cup on the background of my apron. If we place a coffee pot at a distance, we’ll create a volume and blur the background in the frame.
Dishes
Let's start with “no”. Avoid bright dishes with complex patterns, attention will be drawn to the plate and not to the food! Choose simply-shaped matte dishes. Do not forget that your main “character” is food. Accept dishes as a portrait frame: if a viewer sees a frame and a mat, instead of a picture itself – you did your job wrong!
Size
The size is important. The basis plates are the plates of small diameter, for example, dessert ones - 13-16 cm. It is difficult to build a frame with large plates (20+ cm). In general, choosing props, pay special attention to “small” dishes - saucers, sauce bowls, creamers, saltcellars, little dishes, saucers. They are as functional as possible - for example, nuts can be poured into molds for a souffle or a cupcake.
Textile
Choose natural fabrics and subtle tones. Napkins of gray, blue, beige shades perfectly suits for everyday photos.
Now, when you know what is better to shoot, in what and on what background, let's talk about how to shoot, and about one of the main points, if not the main one, lighting.
Light should be soft and diffused. Cloudy weather is perfect. If nature is not on your side, put a lens on your windows. In everyday life, it may be substituted by a piece of white cloth or a sheet. Now, however, one of the trends is food filming with a hard light that gives long shadows. Anyway, make experiments, change the point of shooting, rotate your object and you will definitely find the moment when your dish looks especially “tasty.”
Place the reflector (at home it can be a white sheet, foam, and foil) in front of the light source, in this case, the window, and we get the second light source. Another important point is the “purity” of light. If we photograph near the window using natural light, turn off all the lights in the room. Pay attention to your clothes and to the color of the walls: everything can throw a “dirty” shade on the photo. Anyway, if you photograph with imperfect lighting, remember about the processing. Change the balance of white, get rid of yellow / blue, add contrast and saturation to your picture.
How to decompose these croissants? It is impossible to tell about the composition in a few words.
There are many rules, which a photographer who knows them, may break from time to time.
If we talk about flat lays, I would like to mention the main “schticks”:
The objects should not be in contact with each other: lay them out, change the direction, creating the “controlled chaos”.
Avoid “dirt” in the frame: “too much is not good”. Do not scatter spices, nuts and flowers around the frame. If you want to emphasize the coffee taste of the cake just add 2 or 3 grains of coffee.
Use the rule of thirds (the frame is divided into three parts horizontally and three parts vertically). Key or forming elements of the composition should be arranged in thirds. The focus point should be located not in the center or at the edge of the image, but in one or two thirds of the frame.
Deliberately “cut off” dishes. Create the effect of abundance when a viewer thinks that there are so many elements in the composition that they can’t be put into the frame.
Select for flat lays elements of the same height. If you can’t - try to find a solution. Lay down everything that can be laid down (for example, put bottles with wine horizontally). Another option is to find some kind of substrate material/ a stand for a low dish - for example, put a box under a plate with salad.
The most important thing is constant practice. Shoot, shoot and shoot again: from different angles, with different lighting, changing the composition.